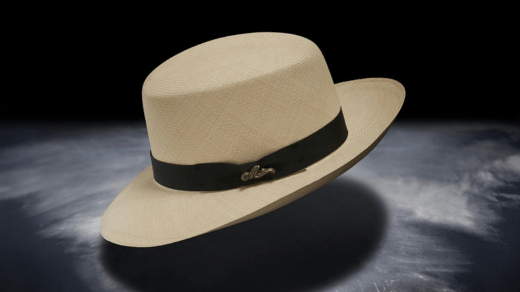
Making a traditional Panama hat, also known as a Montecristi hat, involves weaving straw fibers to create the iconic hat shape. Here are the basic steps for making a Panama hat:
Materials Needed:
- Straw Hat Body: You will need a straw hat body, which is typically made from toquilla straw. Toquilla straw is the traditional material used for Panama hats.
- Water: You’ll need water for softening the straw fibers and making them pliable for weaving.
- Molds or Blocks: Hat molds or blocks of various sizes and shapes are used to shape the hat during the weaving process.
- Ribbon: A ribbon is used to bind the edge of the hat and provide a finishing touch.
- Needle and Thread: For securing the ribbon and finishing details.
Steps:
- Soften the Straw: Before you can begin weaving, you need to soften the straw fibers. This is typically done by dipping the straw hat body into warm water to make it pliable.
- Shape the Hat: Place the wet straw hat body onto a hat mold or block that matches the desired hat shape. The hat will take on the shape of the mold as it dries.
- Weave the Hat: The intricate weaving of the Panama hat is done using toquilla straw. Skilled artisans use a weaving technique that creates the characteristic patterns and designs of Panama hats. This process can be extremely time-consuming and requires great skill.
- Allow to Dry: Once the hat is woven, it needs to dry and set in its final shape. This can take several days or even weeks, depending on the thickness of the straw and the humidity.
- Trim the Brim: After the hat has dried and set, trim the brim to the desired width. This step gives the hat its distinctive brim shape.
- Finish the Edges: Bind the edges of the brim with a ribbon to provide structure and a finished look. The ribbon is usually sewn in place using a needle and thread.
- Clean and Polish: Inspect the hat for any loose straw or imperfections and clean it up. You can also polish the hat to give it a smooth, shiny finish.
- Add a Hatband (Optional): You can add a decorative hatband to further personalize your Panama hat.
- Enjoy Your Panama Hat: Once the hat is complete, it’s ready to be worn and enjoyed. Panama hats are known for their lightweight and breathable qualities, making them perfect for warm weather.
Please note that making a traditional Panama hat is a highly specialized craft that requires skill and experience. If you’re not experienced in hat-making, it’s best to purchase a Panama hat from a skilled artisan or a reputable source to ensure you get an authentic and high-quality product.

